Capture Pin-Sharp Stars Every Time

Captured with the Sony a7cr and 16-35mm f2.8 GM II lens at 24mm. Filter - Hoya Sparkle 4x. Camera settings - 10 seconds / f2.8 / ISO 4000.
Introduction
Hi gang!
If you follow me on Instagram, you already know there’s no shortage of night sky photos on my feed. It’s true—photographing the beauty of the stars has become one of my favorite forms of photography.
Fun fact: it was my mom who first got me into stargazing back in 1986 when Halley’s Comet passed through our solar system. Crazy to think the next time Halley’s Comet will appear is 2062—fingers crossed I’ll still be around to see it!
Before we dive in, if you’re interested in learning more about astrophotography, I host in-the-field workshops and 1-on-1 classes covering the basics—including the 500 rule and much more. [Click here to check out my workshop page.]
Now, let’s get started with what is probably the most important and easy-to-remember concept in astrophotography: the ever-popular (and often misunderstood) 500 Rule.

Captured with the Sony SIII and 16mm f1.8 G lens. Camera settings - 20 seconds / f2.0 / ISO 3200.
What Is the 500 Rule?
Without getting too technical (because honestly, that just makes it more confusing), I’ll explain the 500 rule the same way I would during one of my workshops. The 500 rule is a simple formula to estimate the longest exposure time you can use before stars start to trail or blur. If done correctly, it will get you very close to those tack-sharp, pin-point stars.
I say “very close” for a reason—today’s cameras, like the Sony a1 (50 megapixels) and a7CR (62 megapixels), capture extreme levels of detail. With higher resolution, you might notice minor star trailing if you zoom way in. But don’t worry—I’ll explain how to fix that too.
How to Use the 500 Rule
It’s super easy to remember:
500 ÷ focal length = maximum exposure time (in seconds).
For example, using a 16mm lens on a full-frame camera: 500 ÷ 16 = 31.25 seconds, which you round down to 30 seconds. (Always round down to the nearest whole second!)
Important note for crop sensor cameras: Multiply the lens focal length by the crop factor first, then divide 500 by that number. Example (Canon crop sensor with 16mm lens): 1.6 × 16 = 25.6 → 500 ÷ 25.6 ≈ 19.5 seconds → round down to 19 seconds.

Captured with the Sony a7cr and 16-35mm f2.8 GM II lens at 35mm. Camera settings - 13 seconds / f2.8 / ISO 6400.
Example from my own work above:
Shooting with a 35mm lens on a full-frame, 500 ÷ 35 = 14.28, so I round down and use a 13-second exposure. If you ignore the 500 rule and shoot longer, you’ll almost certainly notice star trailing—especially with high-megapixel cameras like the Sony a7CR. (And yes, when you zoom in, you’ll see even tiny imperfections!)
Pro Tip: If you still spot slight star trailing, shorten your shutter speed a bit until you get desirbable results.
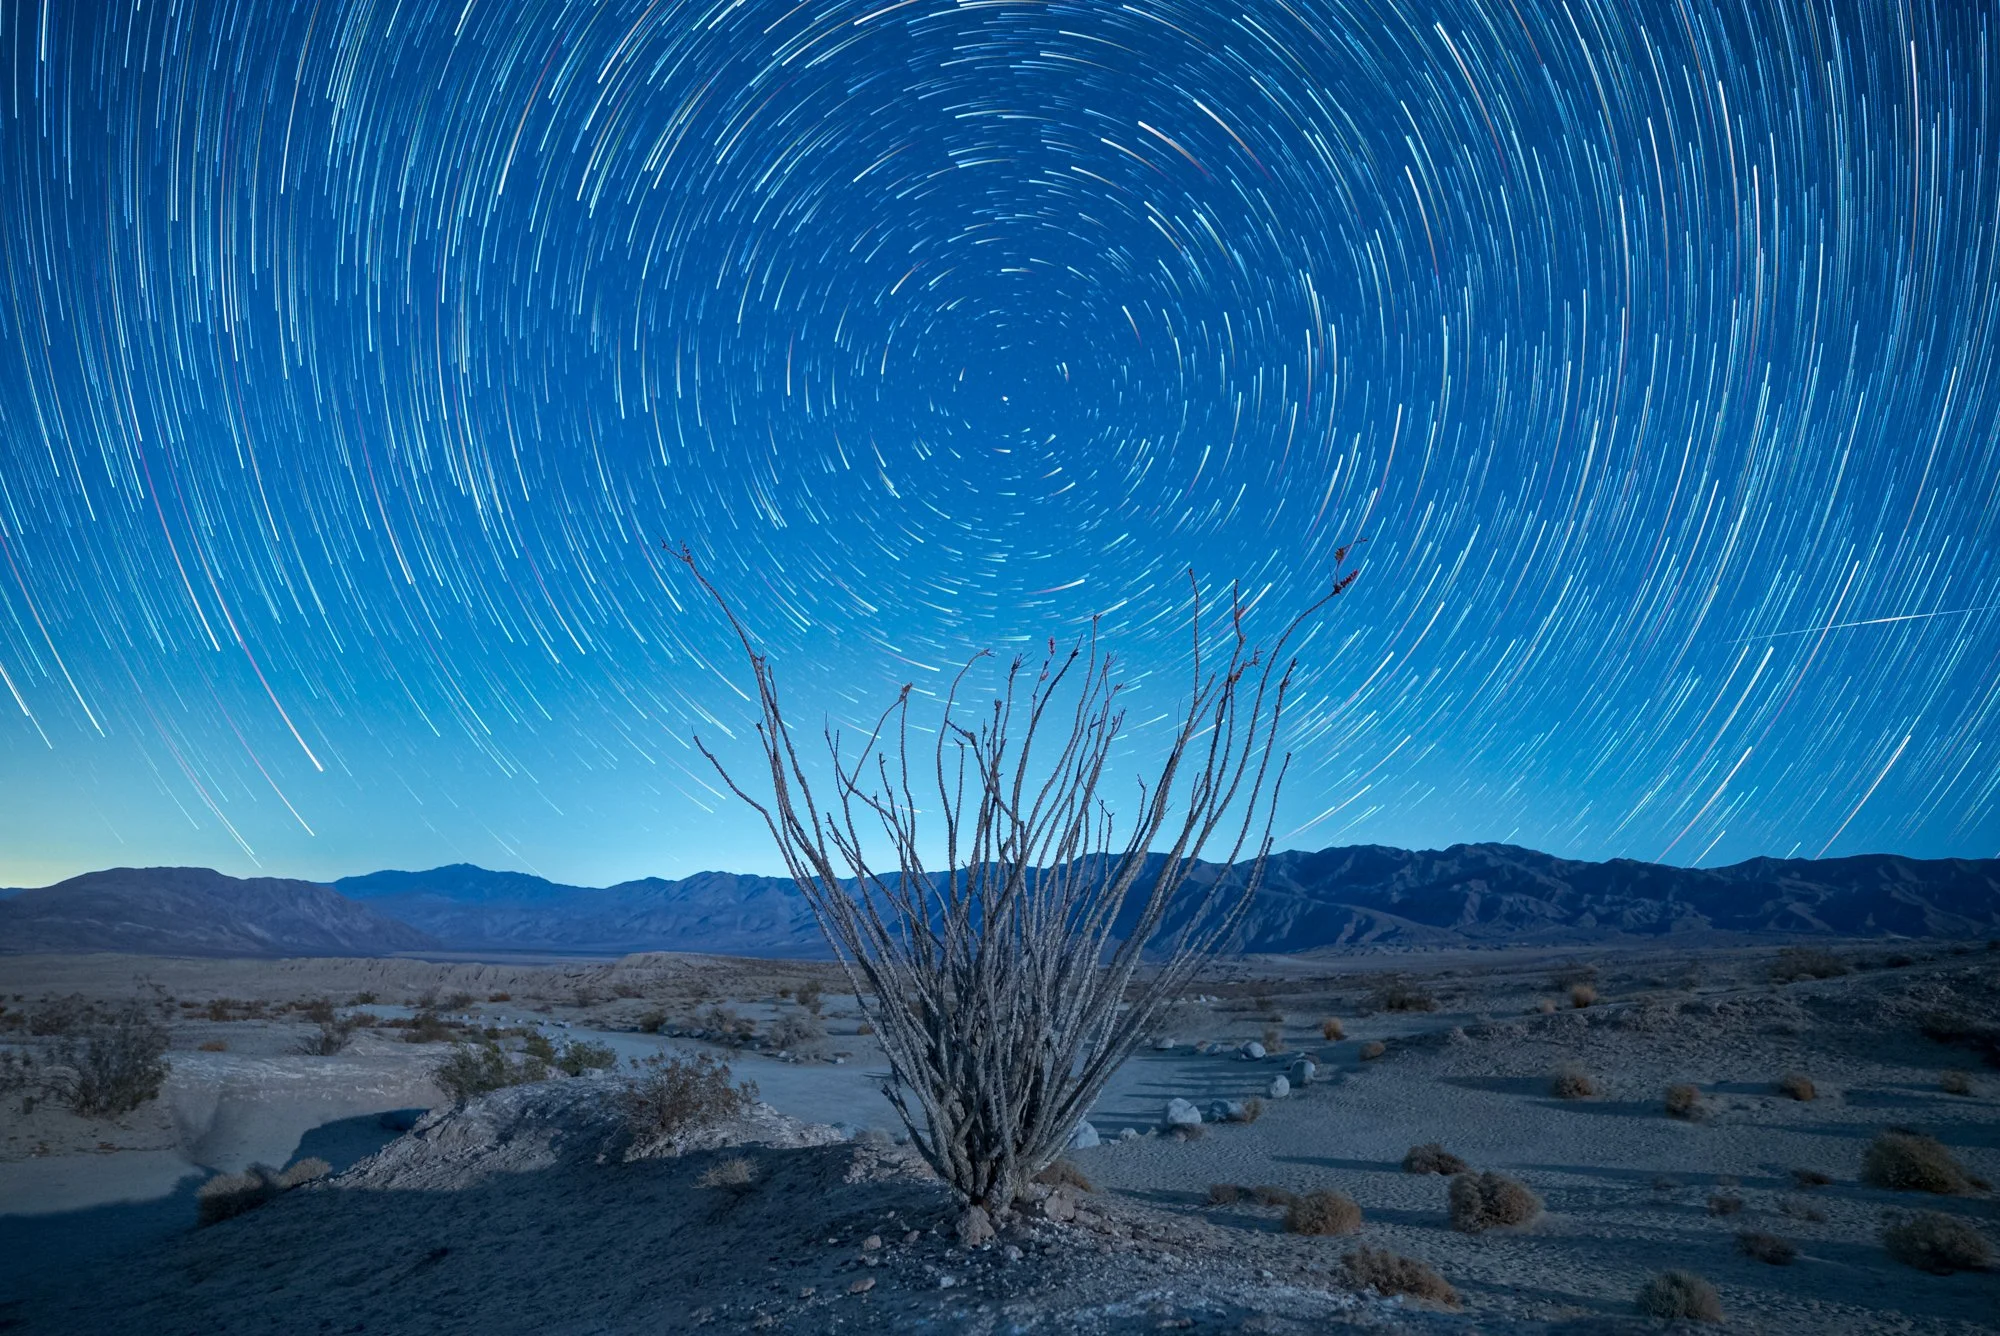
Captured with the Sony a7S III and 16mm f1.8 G lens. This is 240 image stack created in StarStax software. Camera settings for each image captured at 10 seconds / f2.0 / ISO 800.
Bonus Tip: Stacking for Star Trails
Another astrophotography technique I love is photo stacking for star trails. Using my Sony a7S III, I set the interval shooting function to capture 240 images back-to-back. This method lets me create gorgeous star trails and a time-lapse at the same time! At 24 frames per second, those 240 images equal a 10-second time-lapse sequence. I use a free Mac app called StarStaX to stack the images. (Stay tuned—I’ll dive deeper into star trails and stacking techniques in an upcoming post!)
Conclusion
And there you have it—an easy, powerful technique to keep your stars razor-sharp when photographing the night sky. I hope this helps lift your astrophotography to the next level! If you have any questions, feel free to drop me an email—I’m always happy to help.
Also, check out my [workshop page] for the latest 2025 events. I also run 1-on-1 and private group workshops. Contact me directly for pricing and availability.
Thank you all so much for your support! Until next time - happy shooting!